Introduction
Grout, the essential component that holds your tiles together, can lose its luster over time. Stained, cracked, or outdated grout can mar the appearance of your beautiful tiles. But fear not, as we embark on a DIY journey to restore the charm of your tiles through grout removal. In this guide, we’ll show you the step-by-step process of grout removal, highlighting the importance of using top-notch tools such as the grout grinder tool and grout removal bit.
Why Quality Tools Matter
Grout removal is a meticulous task that requires precision and the right equipment. Using subpar tools can lead to frustration and less-than-ideal results. Here’s why investing in quality grout removal tools is essential:
- Precision: Quality tools like the grout grinder tool and grout removal bit allow for precise and controlled grout removal, ensuring you don’t damage your tiles in the process.
- Efficiency: High-quality grout removal tools work efficiently, saving you time and effort, while also reducing the risk of fatigue during the task.
- Durability: Quality tools are built to last, making them a wise long-term investment for any DIY enthusiast or professional.
Step-by-Step Guide to DIY Grout Removal
Step 1: Gather Your Tools
Before you begin, make sure you have the necessary tools ready:
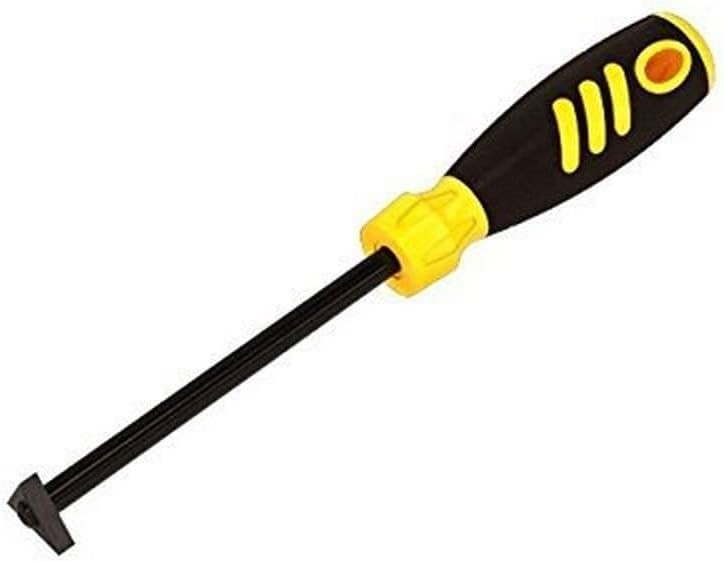
– Grout grinder tool
– Grout removal bit
– Safety goggles
– Dust mask
– Gloves
– Scraper
Step 2: Prepare the Area
Clear the area of any obstacles, and cover surrounding surfaces to prevent debris from spreading.
Step 3: Safety First
Put on your safety gear, including goggles, a dust mask, and gloves, to protect yourself from dust and debris.
Step 4: Start Grinding
Using the grout grinder tool, carefully grind away the old grout. Be patient and work in small sections to avoid damaging the tiles. Keep the tool at a slight angle for the best results.
Step 5: Clean as You Go
Regularly clean the area to remove dust and debris, ensuring you can see your progress clearly.
Step 6: Detail Work with the Grout Removal Bit
For narrow or hard-to-reach spaces, switch to the grout removal bit. This attachment allows for precise grout removal in tight areas.
Step 7: Final Cleanup
Once all the grout is removed, thoroughly clean the area and remove any remaining dust.
Frequently Asked Questions
1: Can I use a regular power drill for grout removal?
A1: While it’s possible, using a dedicated grout grinder tool or grout removal bit is recommended for better results and safety.
2: How long does grout removal typically take?
A2: The time required depends on the size of the area and the condition of the grout. It can take anywhere from a few hours to a day or more for larger projects.
3: Do I need to regrout after removal?
Yes, it’s essential to regrout the tiles once the old grout is removed to ensure a secure and aesthetically pleasing finish.
Conclusion
In your quest for DIY grout removal, the tools you choose can make all the difference. Quality tools like the grout grinder tool and grout removal bit, available through our recommended company, ensure that your project runs smoothly and successfully. By following our step-by-step guide, you can transform your tiled surfaces and restore their beauty, all while knowing you’ve used the best tools for the job.
Certified Material Testing Products proudly offers these essential grout removal tools, backed by our commitment to quality and customer satisfaction. Visit our website to explore our range of products and embark on your grout removal journey with confidence. Say goodbye to dingy grout and hello to beautifully refreshed tiles.